Managing document approvals, leave requests, or purchase orders manually can slow down productivity. Fortunately, by using Power Automate approval workflows for SharePoint, businesses can streamline operations, reduce errors, and maintain consistency. In this step-by-step guide, we’ll walk you through how to build approval workflows using Power Automate, integrate attachments, and avoid common mistakes — all while improving efficiency and control.
Need help getting started?
Talk to AscenWork’s Power Automate experts and discover how to fast-track your automation strategy.Choose a SharePoint List or Document Library
Start by identifying the list or library where the item needs approval. For example, an employee leave request list or invoice upload library.
Open Power Automate and Create a New Flow
Navigate to Power Automate and select Automated Cloud Flow. Choose the SharePoint trigger: When an item is created or modified.
Configure SharePoint Trigger
Power BI Desktop is free, and you can publish to a personal workspace at no charge. Sharing with colleagues requires a Power BI Pro licence (often bundled with Microsoft 365), or Premium capacity for large‑scale deployments. AscenWork audits usage to ensure you license only what you need.
Need help with email alerts, task reminders, or custom conditions?
Add the Approval Action
Select Start and wait for an approval action. Choose the type of approval: Approve/Reject – First to respond, or Everyone must approve.
Customize Approval Details
You can include: Title of the item, Description or notes, Link to the SharePoint item & Email addresses of approvers (dynamic content).
Send Email Notifications
Add a condition to send an email based on the outcome. For example: If approved: Notify requester + update SharePoint status, If rejected: Notify requester with reason.
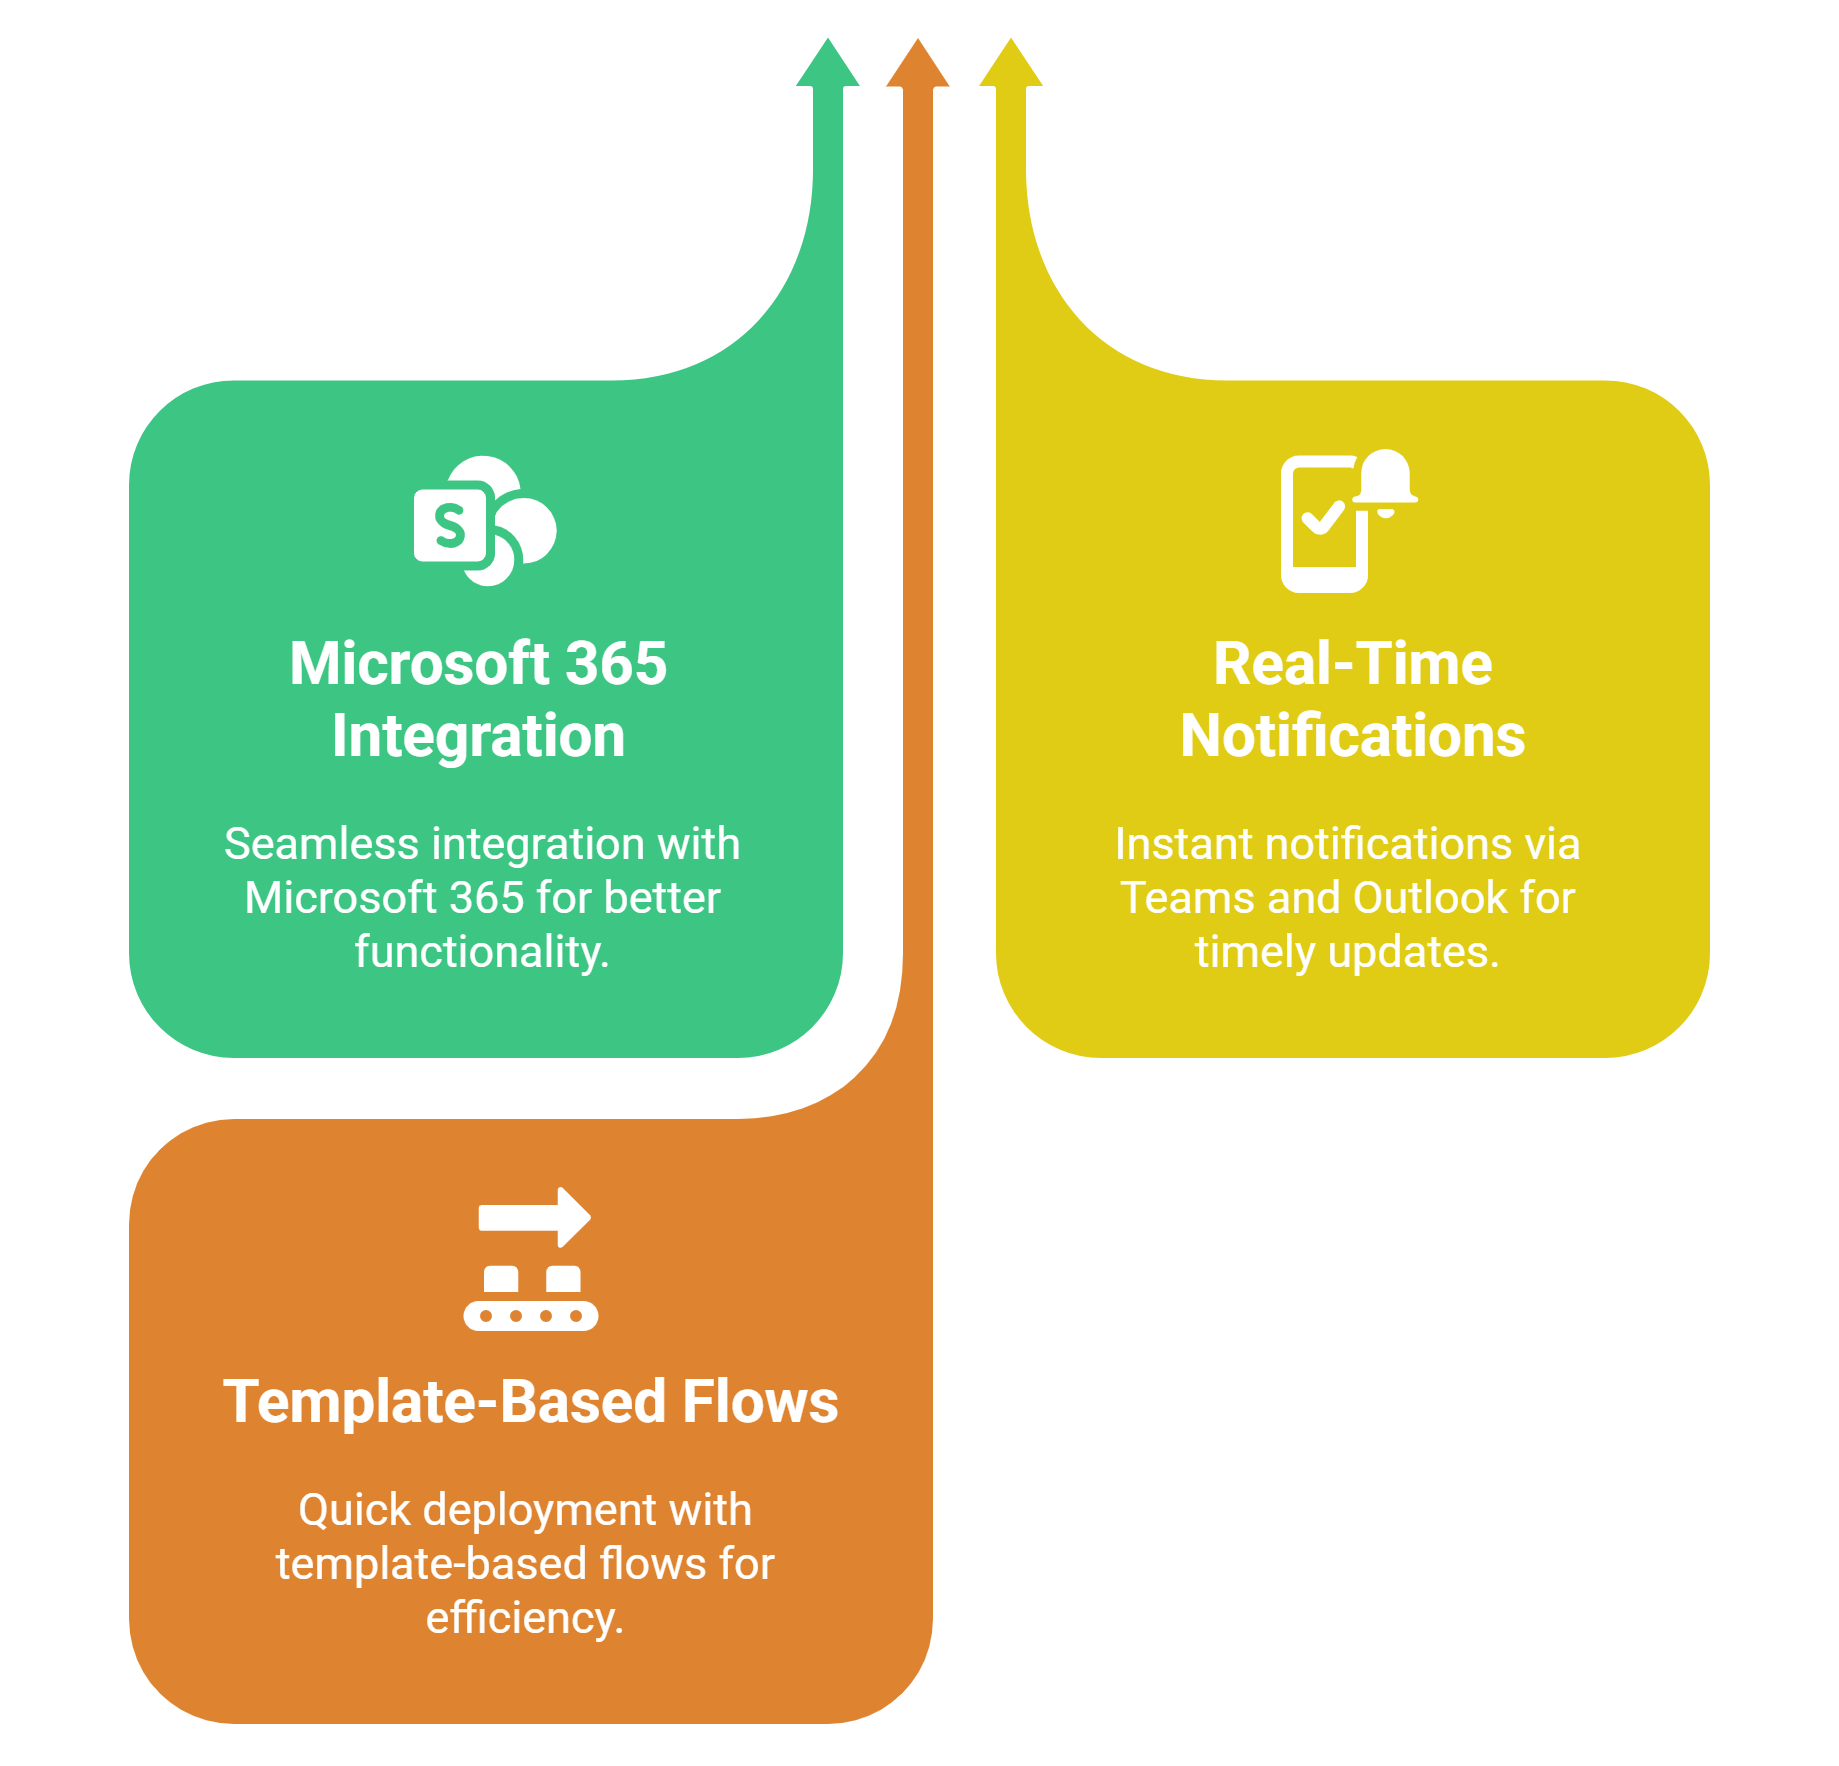
By setting up approval workflows in Power Automate, organizations can manage everything from employee onboarding to invoice approvals with ease. Automating approval processes in SharePoint using Power Automate offers:

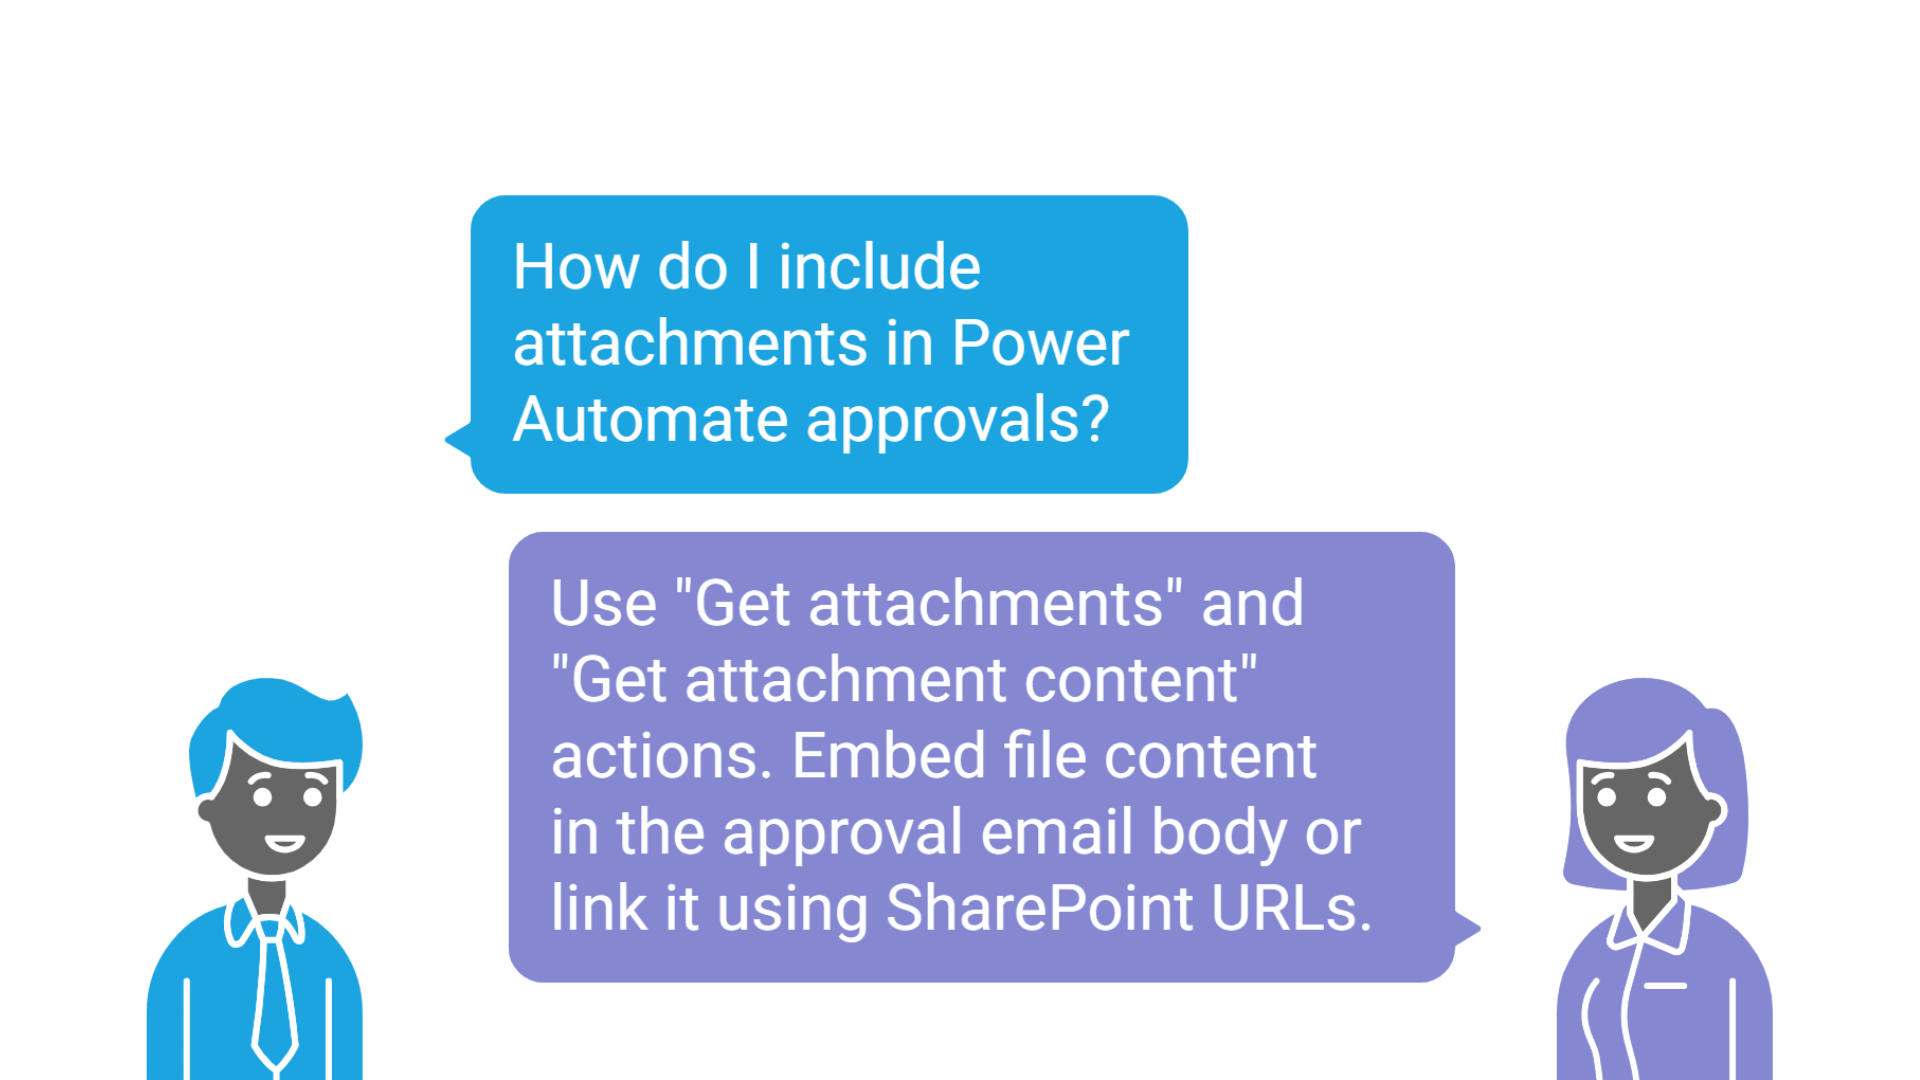
To include attachments: Use Get attachments and Get attachment content actions, Embed file content in the approval email body or link it using SharePoint URLs. This ensures reviewers can see all necessary documents directly within the approval prompt.
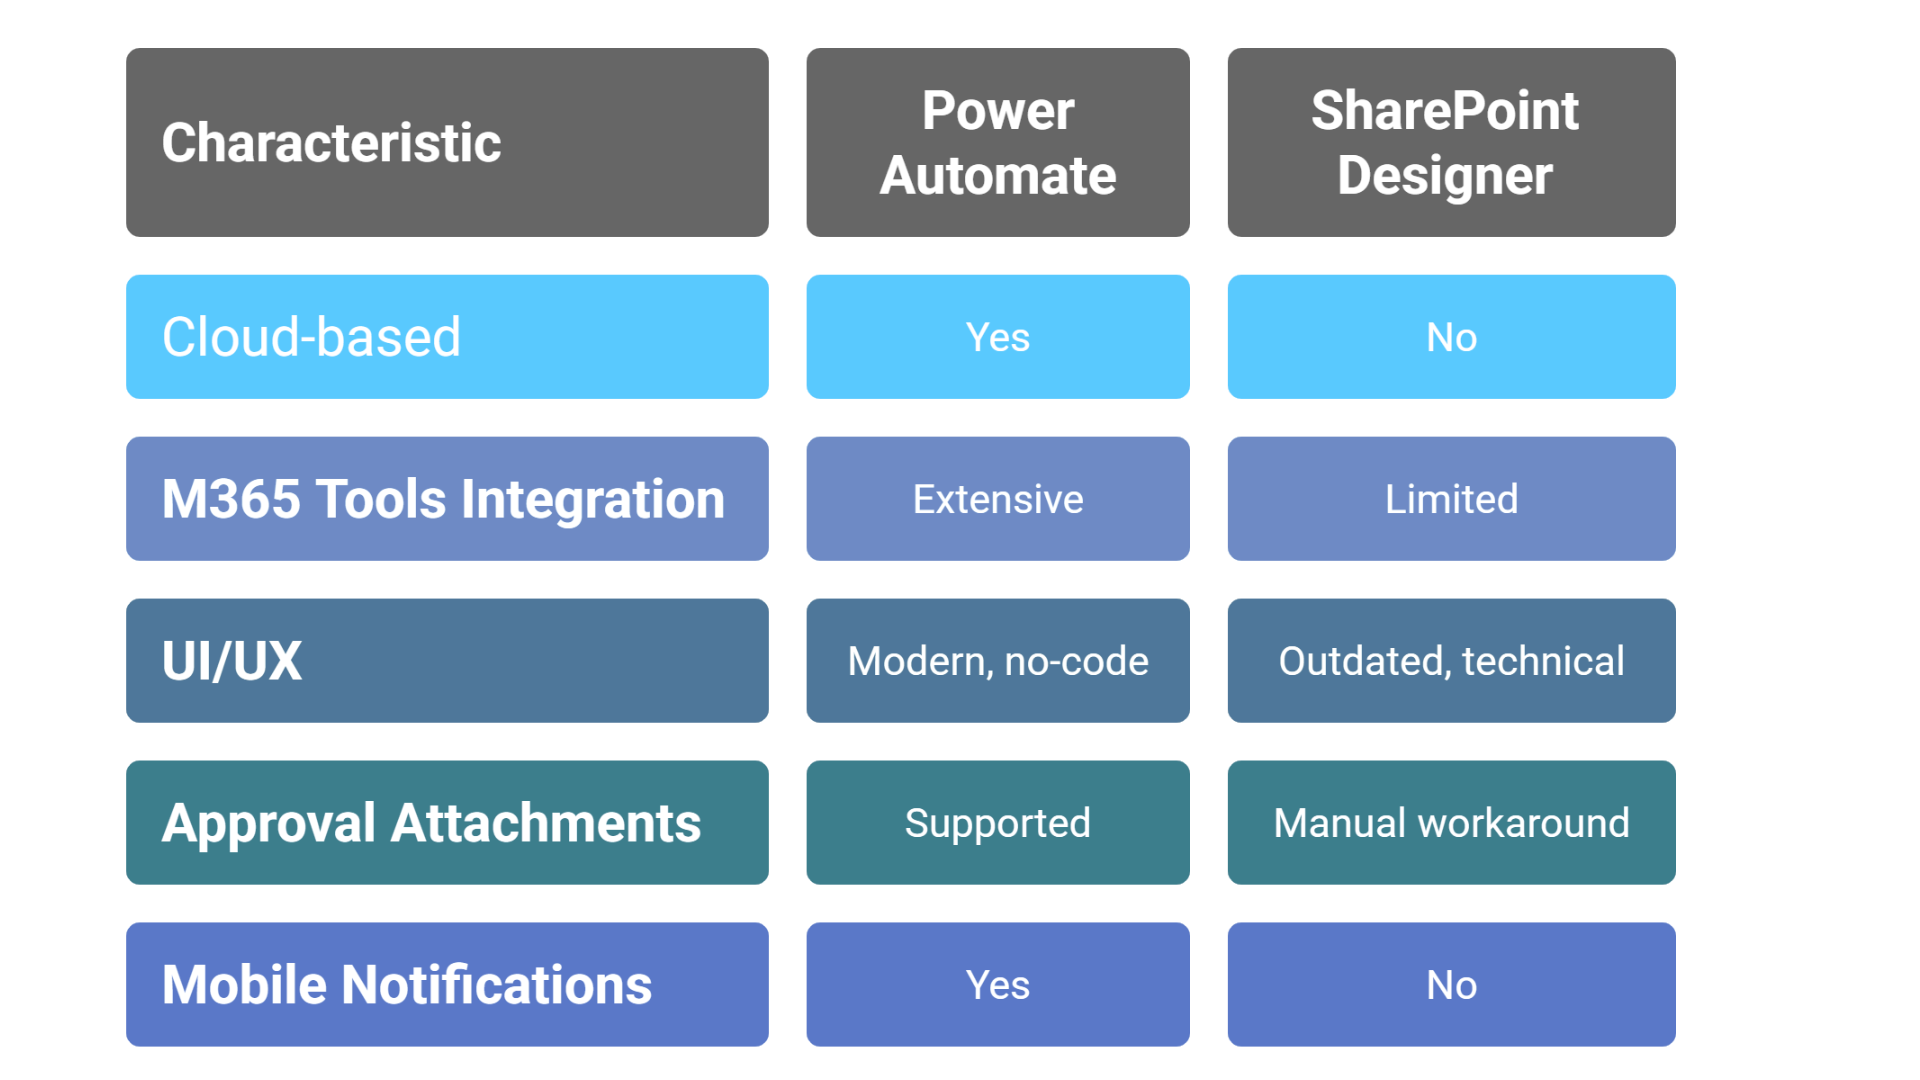
Power Automate is Microsoft’s preferred tool for creating modern, automated workflows in SharePoint Online. It replaces legacy SharePoint Designer workflows and provides:
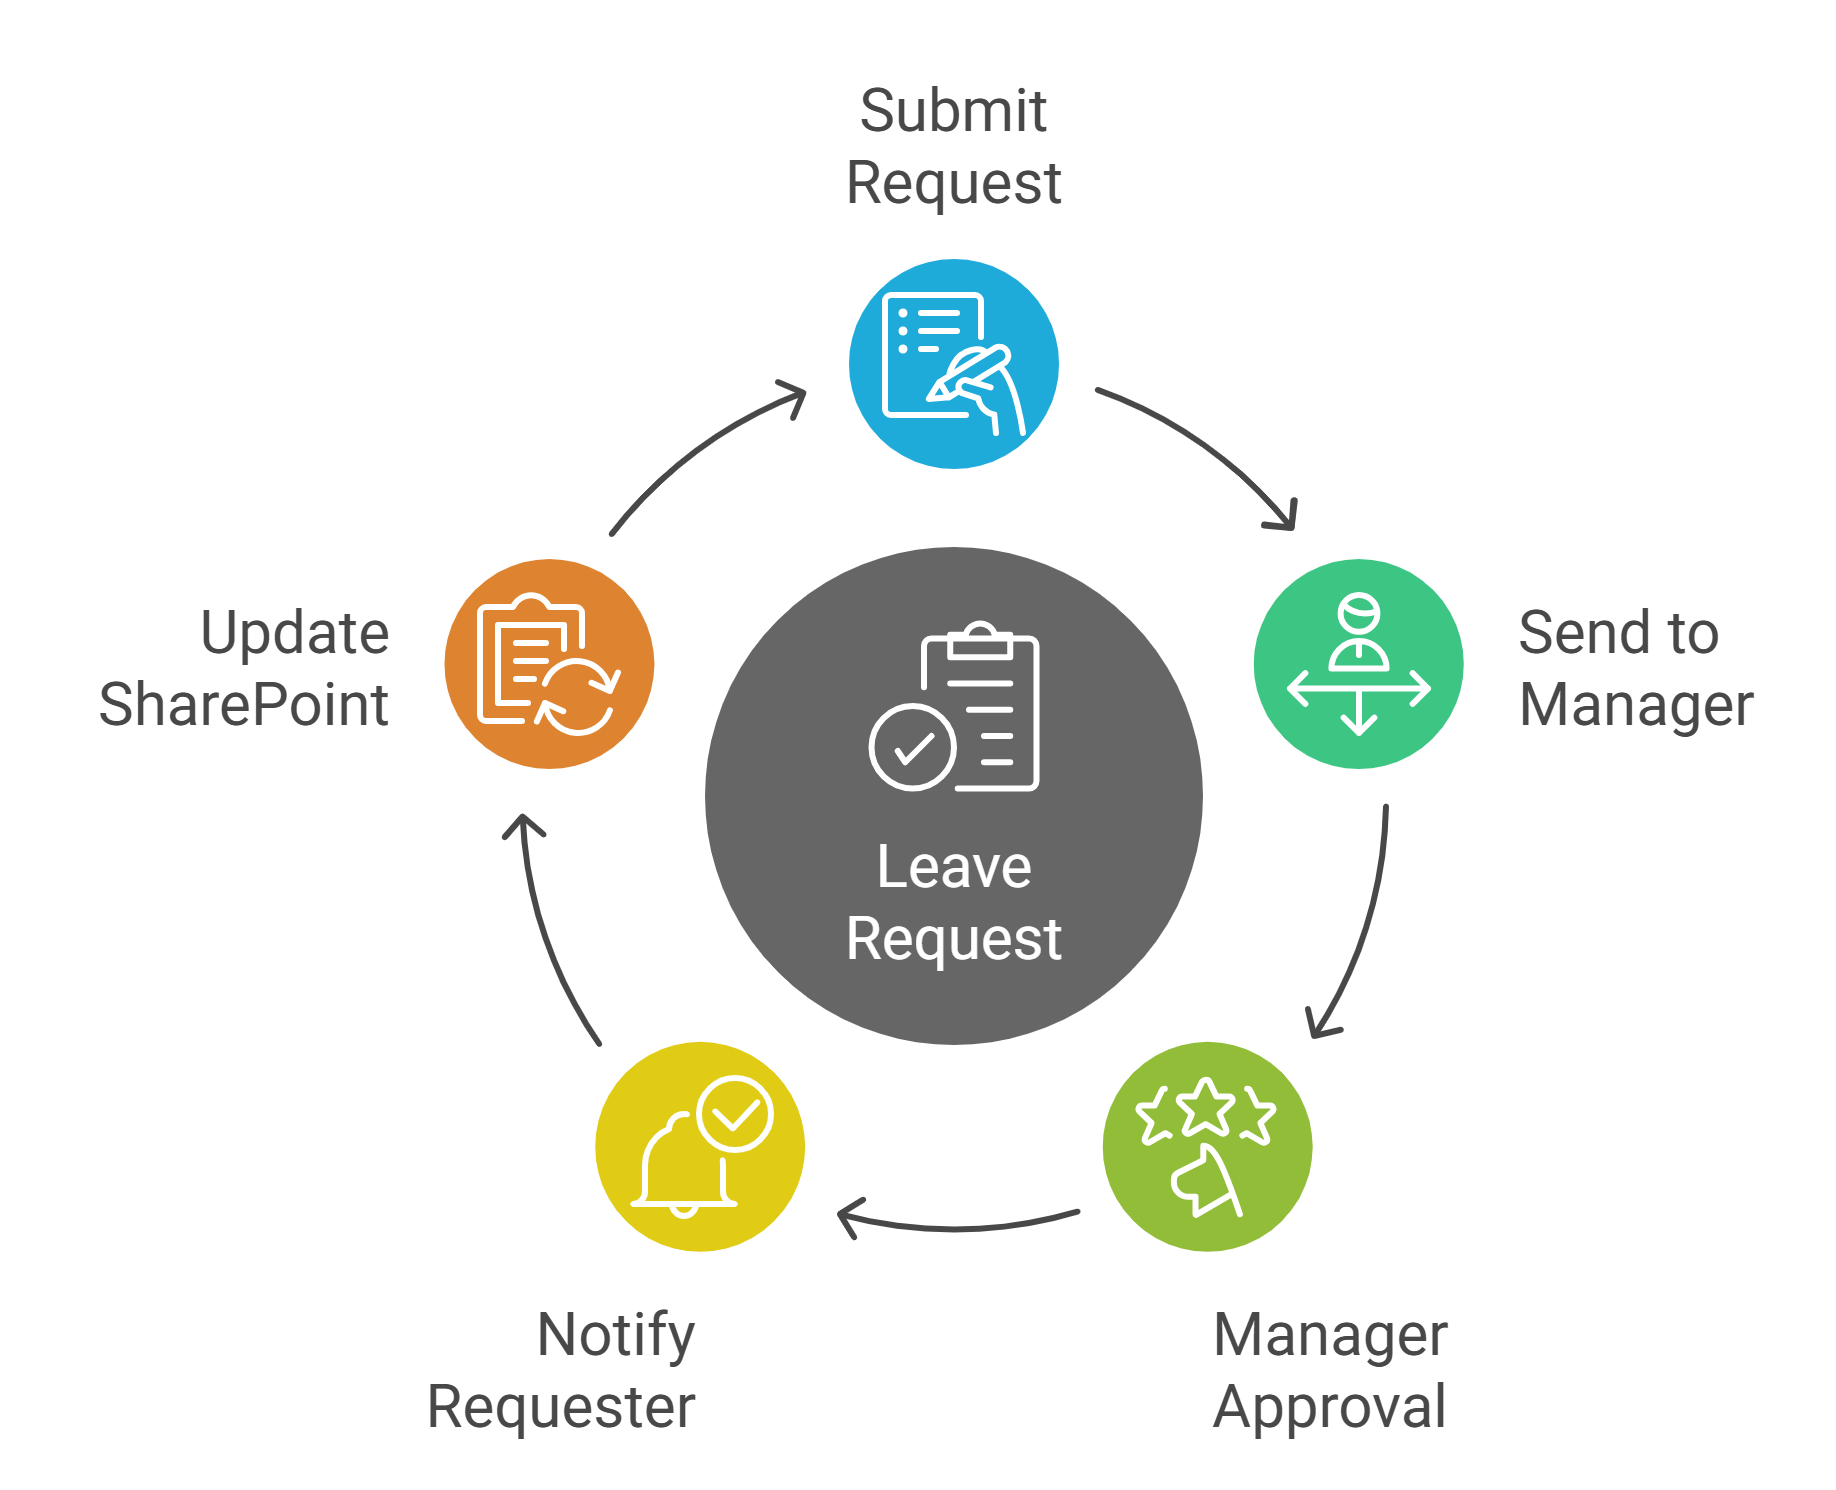
Imagine a company wants to automate leave approvals: This eliminates back-and-forth emails and ensures traceability.